Single Select++
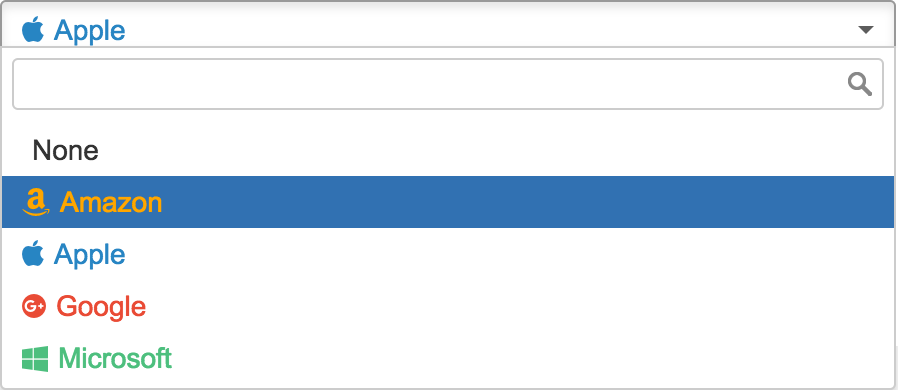
This is a single select field that has every capability of original single select but you can optionally assign an icon, help text and css style to every item in the list and you can synchronize options with database. The list also has auto complete capability.
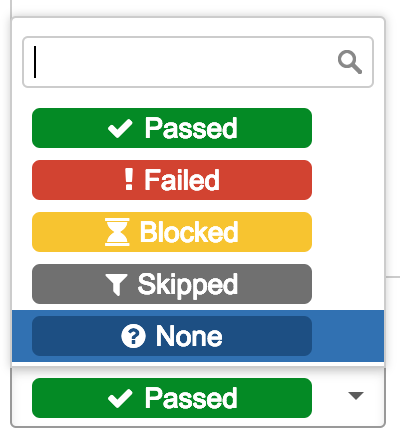
Using different css styles for each item you can achieve completely different looks and feels. For example check the following two different styles. One of them just uses icon and 'color' css property while the other one uses several css properties to achieve a completely different look.
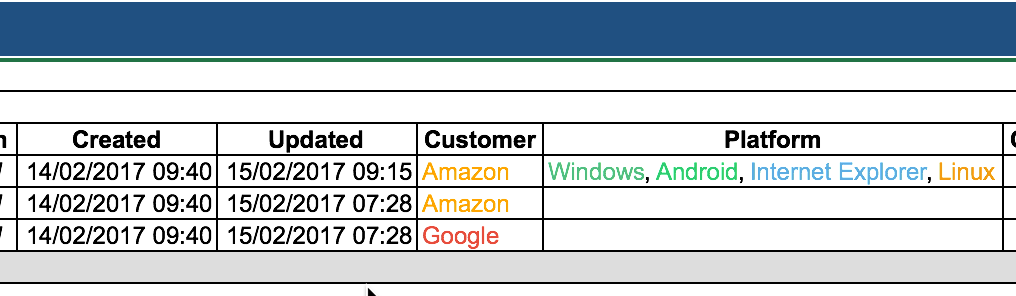
Exporting To Excel
Exporting issues to excel will preserve colors of the fields as shown in the below screenshot. Of course icons and some css styles will not be exported. But colors will work. Just don't forget to add custom field to issue navigator columns before exporting.
Configuration of Custom Field
Configuration is very similar to configuration of original Single Select List JIRA built-in custom field. Different than standard select lists, most operations use Ajax so you don't have to wait for page refresh after an option is updated. Of course the option list configuration page includes extra fields to configure add-on specific features:
Defining and Modifying Options
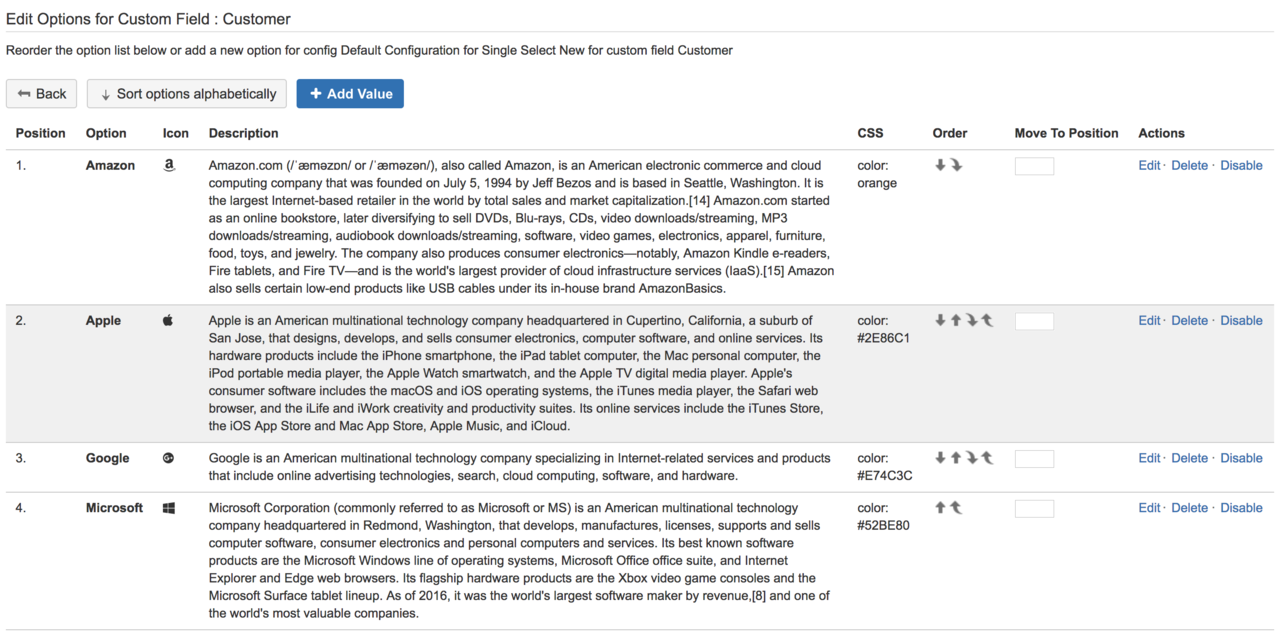
Option list screen allows you to add/edit, remove, disable and re-order options for a select custom field. To add a new option value press the 'Add Value' button. It will open the following screen.
- Icon: You can only select between predefined Font Awesome Icons. In this version you can't add your own icons. But don't worry, there are nearly a thousand icons from which you can select.
- Description: This is the help text shown to a user if he/she hovers on an item during on the custom field. This tooltip is shown on nearly everywhere where the field is shown either in view mode or edit mode.
- Extra CSS Style: You can associate a CSS style with every item. With this powerful customization option you can achieve different looking select lists as shown above. You can modify color, background color, font, size, borders. Possibilities are limited with your CSS knowledge. You can check our gallery of sample styles.
- Disabled: If an option is disabled, users can no longer select this option but the option will continue to be exist in the system. All previously selected values will be retained. That means issues will not be affected.
Disabling an Option
Option can be disabled and enabled at any time. A disabled option is not displayed on edit and create screens but issues previously having that option may continue to exist in the system. You can also enable any disabled option at anytime. To enable or disable an option, click on 'enable' or 'disable' link on the right hand side of the option entry. If an option is disabled '(disabled)' is displayed next to the name of that option.
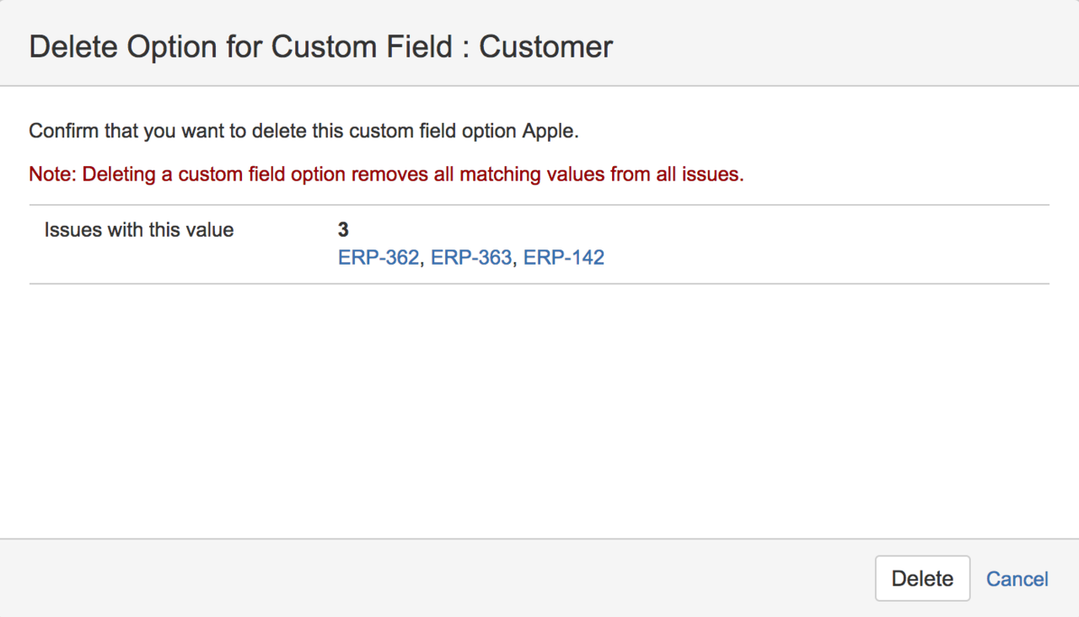
Deleting an Option
Deleting an option is similar to deleting an option from original select fields of JIRA. If there are any issues using the option to be deleted, their key will be displayed in the confirmation dialog. Once you approve the delete option operation, all issues having the deleted option will no longer have that value instead they will have no value for that custom field. In other words custom field value will be EMPTY. To delete an option, open the option list, and click on the 'Delete' link displayed on right hand side of the option entry. Please don't forget that, instead of deleting an option, you can just disable it.
Re-Ordering Options
Like standard select lists, you can re-order options using Up, Down arrows displayed next to the issue or you can sort all options alphabetically using the "Sort Options Alphabetically" command on the header. You can also enter a specific sequence number to the input field next to arrow icons and press the 'Enter' key. It will move the option to entered sequence. The entered sequence number should be between 0 and maximum number of options.
Removing None Option
Like original Single Select List of JIRA, in order to remove 'None' option from the list you need to make field required in the 'Field Configuration' section. Don't forget that, there may be multiple Field Configuration using the same field, so be sure to modify the correct one.
Synchronizing Options with Database
You can configure database synchronization of options so that list of available options changes dynamically. Please check database section for more details.